An Updated Guide on How to Hack Your Sega Genesis / Mega Drive Mini With Hakchi
--
.
.
I originally started my ‘mini hacking / retro video game’ hobby with Project Lunar back in March 2020, and that hack was mostly successful in regards to adding any Genesis / Mega Drive game I wanted, but there were limitations to how many games could be added and in setting up different consoles (like NES and SNES) as there was no file sorting system in Project Lunar at the time. On top of that, I was on a Mac and the instructions I followed involved using Virtual Box to pretend I was on a PC and that ended up being extremely slow, eventually leading to syncing problems and me having to restore my Mini back to its factory settings and searching the internet for another solution.
If you’ve ever poked around online about hacking a mini console, then you probably are already aware that the other solution out there comes from Hakchi. And after finding a suggestion on a forum to try using Parallels to pretend my Mac was a PC for hacking purposes, I quickly discovered that Hakchi was just as easy to setup as Project Lunar had been, if not exponentially easier as I was no longer using that slow-ass Virtual Box. And, even better, Hakchi already had way more built-in functionalities, like a file sorting system and more, ready to go. Perhaps Project Lunar has since added more features, but, for me, Hakchi has been a breeze to use and I can’t think of anything I need it to do that it doesn’t do. So I highly recommend just going with Hakchi.
Like all things related to hacking your mini console, there’s probably a Youtube video that will hold your hand through all the steps and here’s a good one for getting Hakchi installed and setup:
But everything above I’ve already said before — what I wanted to do with this post is put down in one place all the things I’ve discovered/figured out since first getting into hacking my Sega Mini, as there were a bunch of things that I wish I would have just started off doing/knowing.
For example, rather than slowly working my way up to incorporating an external USB drive because I thought it would be too complicated (it’s not), I would have just gone down that road right from the beginning. Related to that, if I hadn’t slowly worked my way up to adding Playstation 1 games (which, it turns out, play quite well on the Sega Mini), I wouldn’t have ended up spending money on a new controller that worked nicely for playing Super Nintendo games, but doesn’t really work for PS1 games.
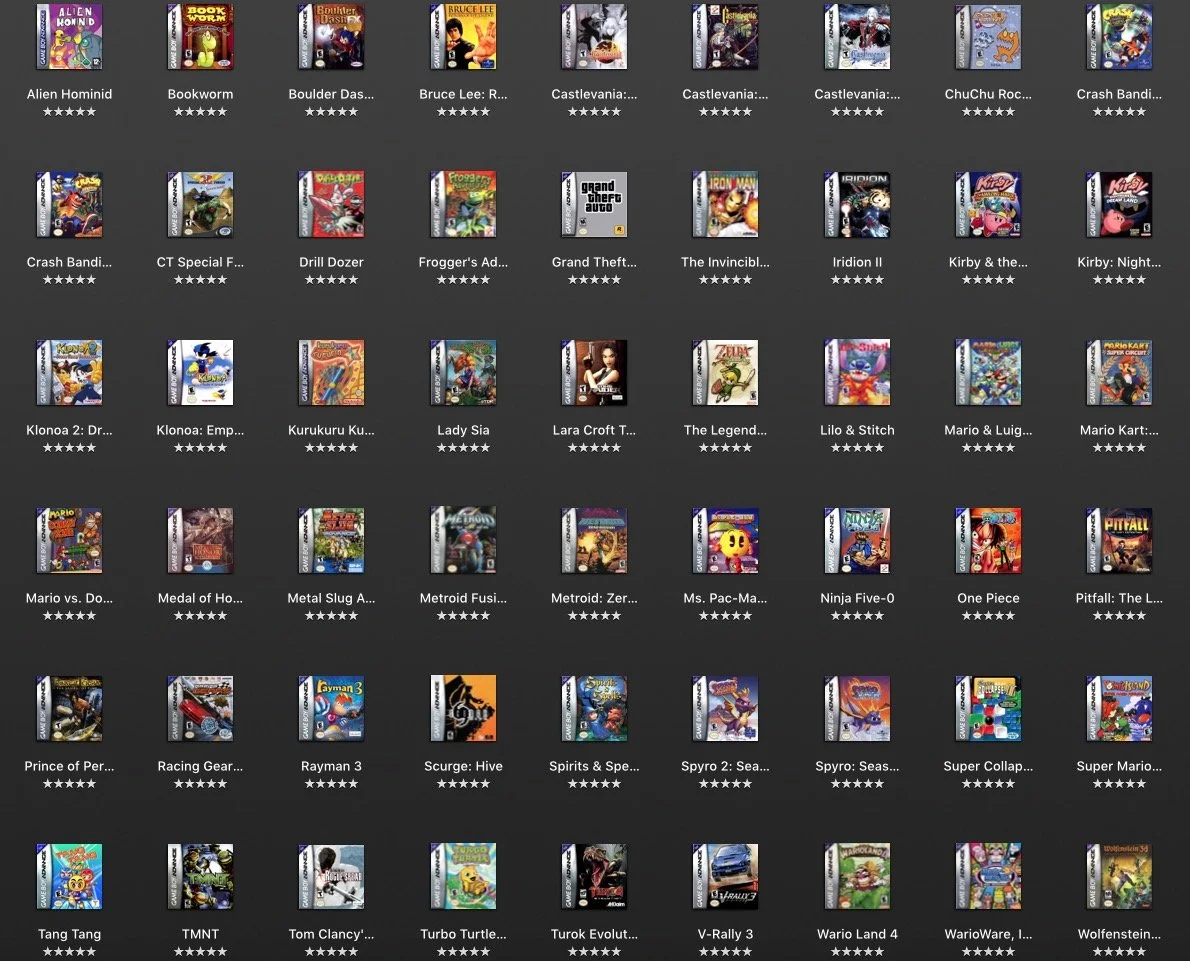
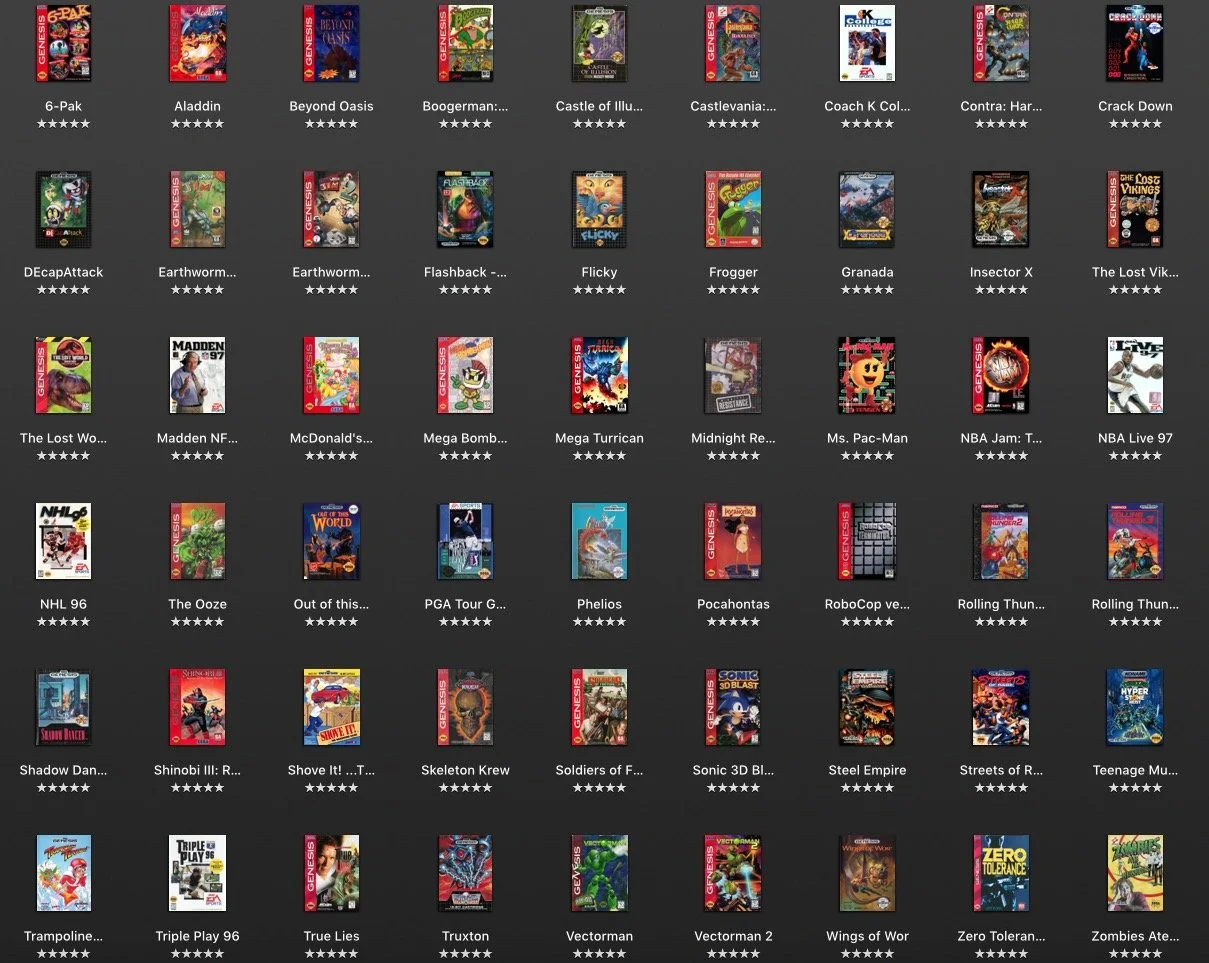
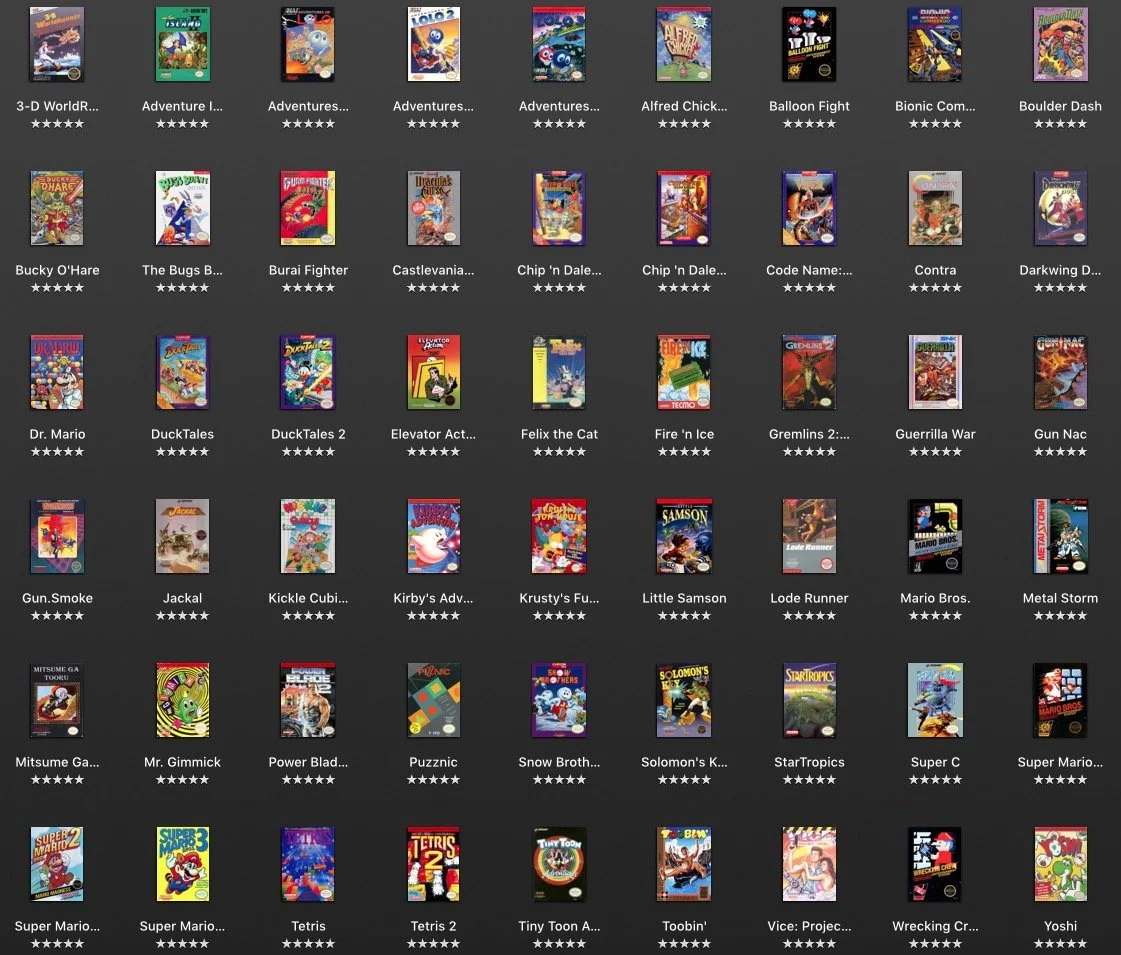
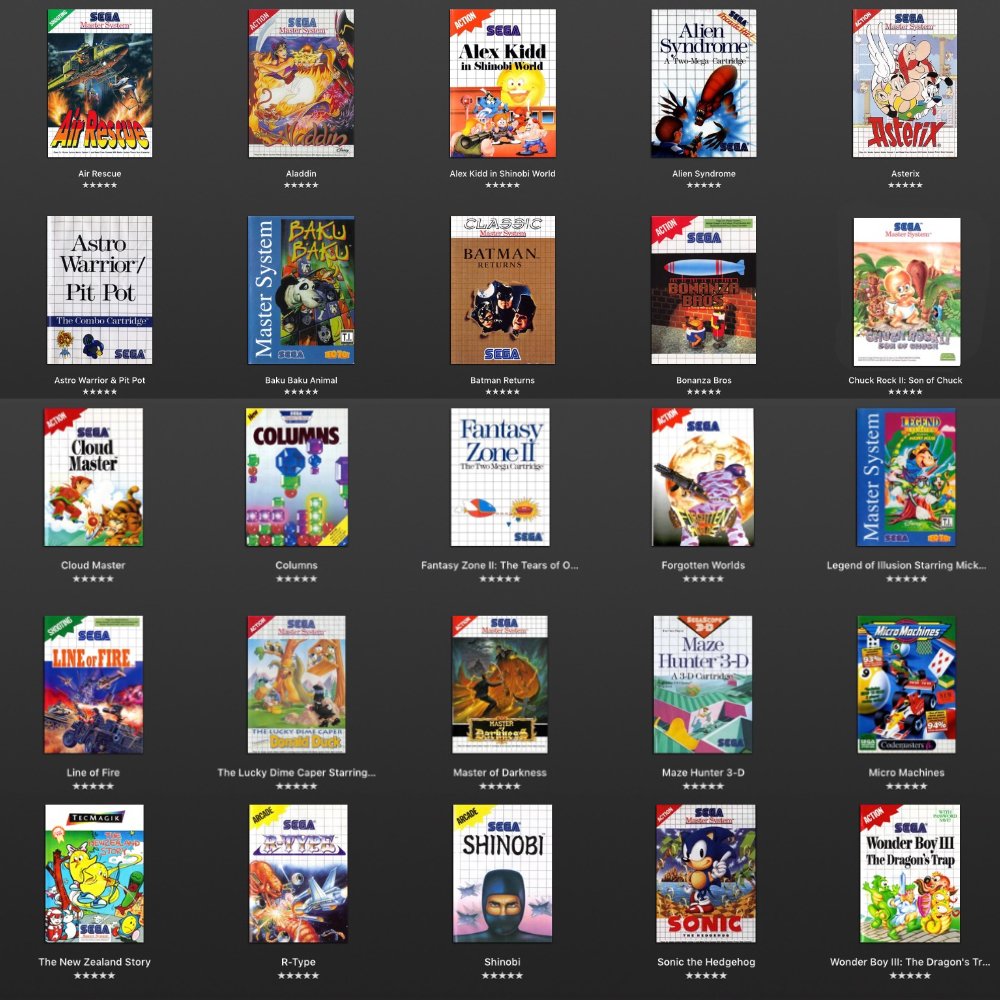
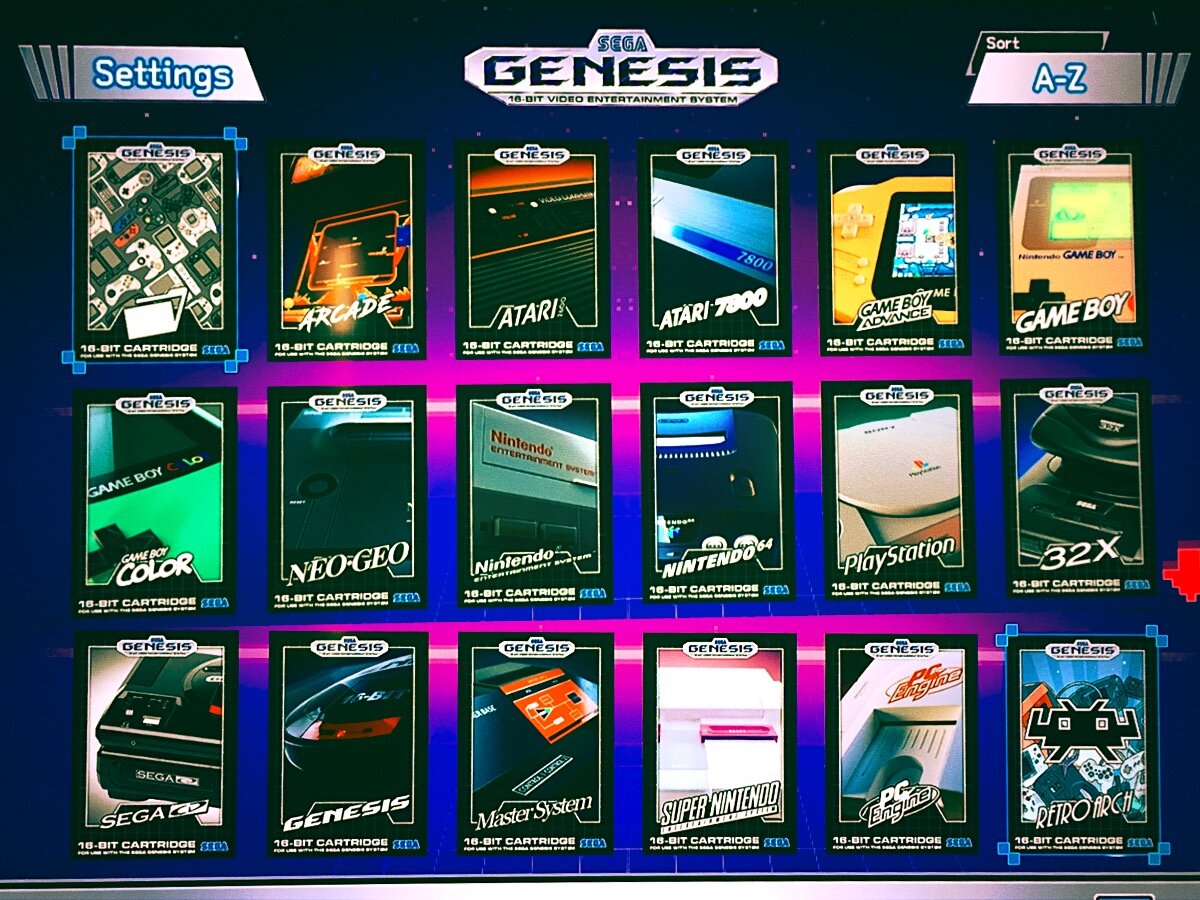
So, here’s everything I’ve learned about hacking my Sega Mini so far, taking my system from something that had 2 controllers and 41 games when it arrived in a box at the start of Wave 1 quarantine, to something that has over 900 games + the ability to have even more, on a wide range of retro consoles (my current setup is: Atari 2600, Atari 7800, Nintendo, Master System, Game Boy, Game Boy Color, Genesis/Mega Drive, Super Nintendo, Turbo Grafx-16, Sega CD, Sega 32x, MAME, Neo Geo, Game Boy Advance, Nintendo 64, Playstation 1) by whatever Wave of quarantine we’re at now.
Firstly - Instal All the Cores You’ll Need
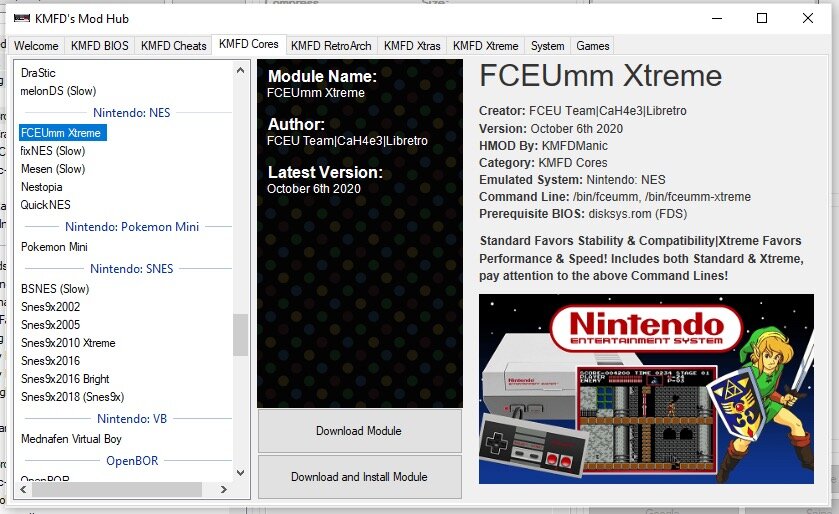
If you’d like to get your Sega Mini setup to play games on all the consoles that I have mine setup for, here are all the KMFD Cores you’ll need to download & install while you’re in the KFMD Mod Hub section (that video above shows this process, it just doesn’t show for every core/console listed below, but the process is the same).
Cores and Consoles:
Stella = Atari 2600 games
ProSystem = Atari 7800 games
FECEUmm = Nintendo/NES games
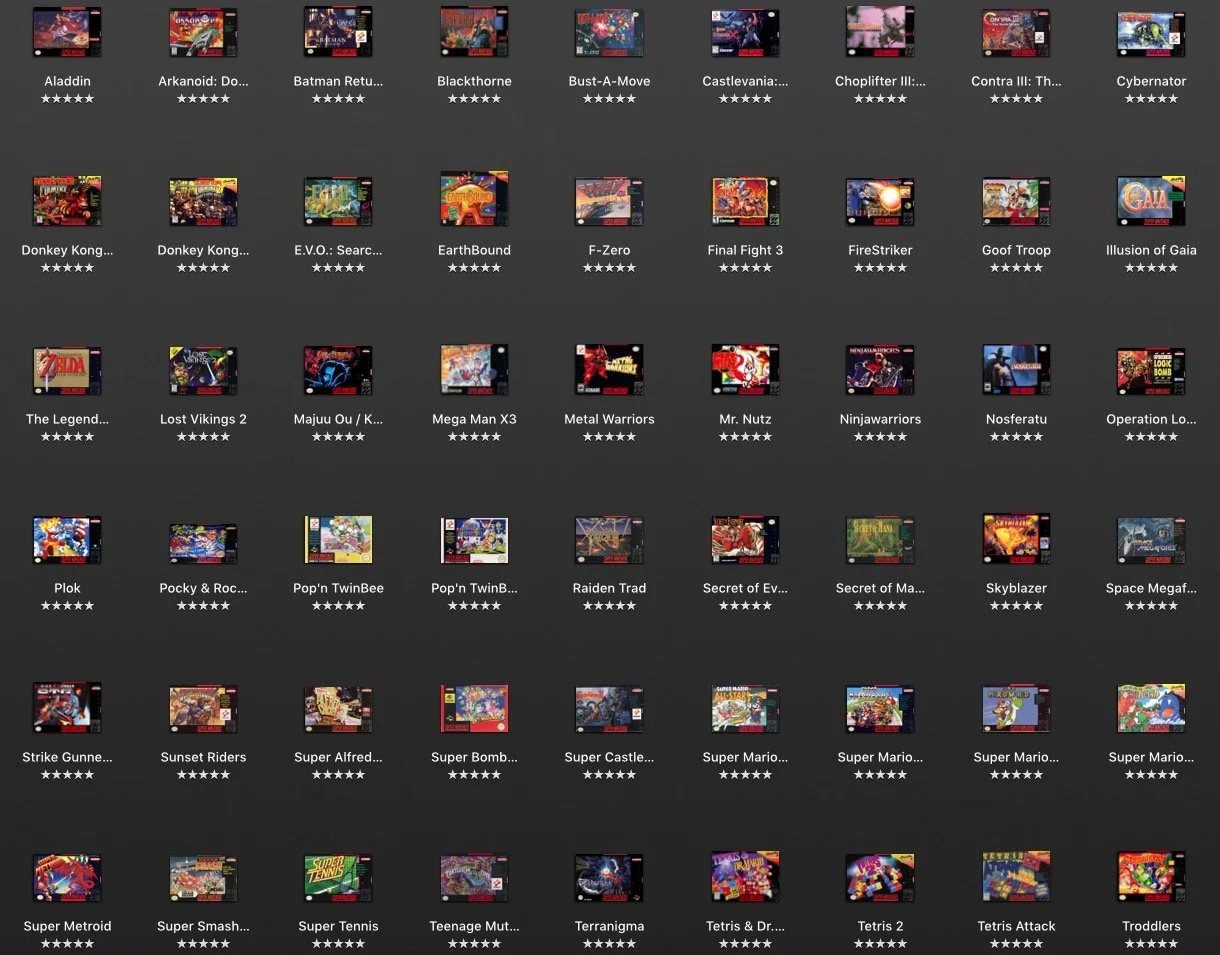
Snes9x2018 (Snes9x) = Super Nintendo games
Gambatte = Game Boy, Game Boy Color games
Glupen N64 = Nintendo 64 games
mGBA = Game Boy Advance games
Genesis Plus GX = Genesis/Mega Drive, Game Gear, Master System, Sega CD (BIOS files only needed for Sega CD games to work)
PicoDrive = Sega 32x, Game Gear, Sega CD (BIOS files only needed for Sega CD games to work)
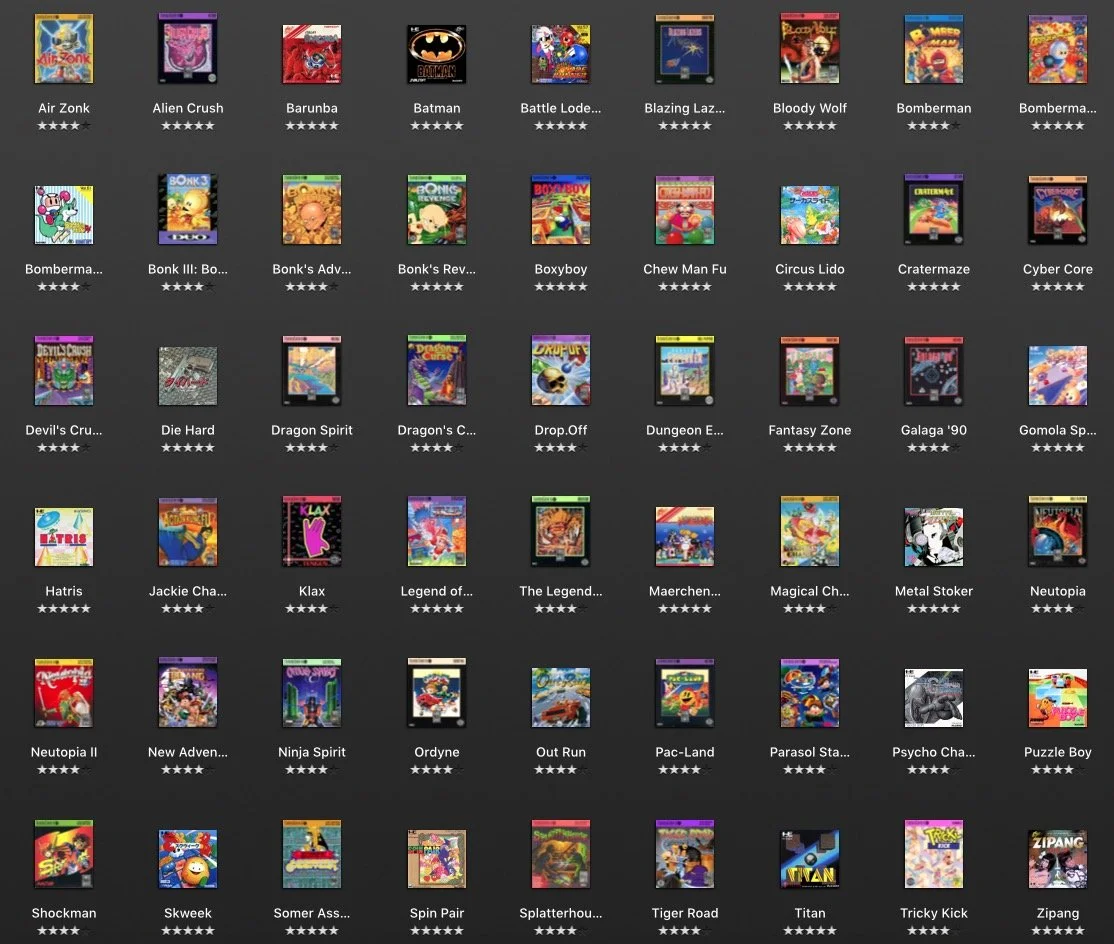
Mednafen PCE Fast = Turbo Grafx-16, PC Engine (BIOS files only needed for CD games)
MAME 2003 Xtreme = Arcade & NEO GEO games (BIOS files required)
PCSX ReARMed = Playstation One games (BIOS files required)
Add The Needed BIOS Files
When it comes to installing BIOS files, it’s a pretty easy process, so unless you specifically don’t think you’ll want to play Playstation 1 and Sega CD games (tbh most Sega CD games aren’t that great / better than Genesis versions… but being able to play PS1 games is a pretty sweet upgrade), I’d recommend doing this step right from the start. The main thing you need to do is find where you can download the BIOS files and I can’t really tell you exactly where, I can just say that it shouldn’t take you too much googling before you are directed to a place where you can find the following BIOS files:
For Sega CD games: bios_CD_E.bin, bios_CD_J.bin, bios_CD_U.bin
For Playstation 1 games: scph5500.bin, scph5501.bin, scph5502.bin
For Turbo Grafx-CD games: syscard3.pce
For adding BIOS files, you just need to have your Sega Mini hooked up to your computer via the microUSB cable (which, if you’re downloading/installing cores, you should already be hooked up) and then you go to ‘Tools > Open FTP Client’ and then you just navigate to the following file path ‘etc > Libretro > System’ and just drag all of your BIOS files into that folder.
Here’s a Youtube video that walks you thru that step, as well as showing you how to add Playstation 1 games (which is similar to how you add Sega CD games — ie. you pull in the ‘cue’ file, which will automatically pull in all the ‘bin’ files):
Adding All the Games you could ever want
As you can see in the two videos above (or any other video you can find online about adding games to your hacked Sega Mini with Hakchi) the process for adding games is really easy. For almost all of the consoles, you can just drag and drop all your roms into Hakchi and then you just need to make sure you have the correct emulator core selected (highlight the added games, right click and choose ‘Select emulation core’) and a lot of games will require you to grab the box art (but most can be found by using the ‘Google’ artwork option, or you can also upload artwork yourself if you have some on your computer).
The consoles that require doing things a little bit different are Sega CD and Playstation games (but, as shown in the video above, you basically just pull in the ‘cue’ file as these games come with more than one game file unlike the more simpler 16-bit era games). And then the Arcade/MAME and NEO GEO games can sometimes be a bit different, but for those I just went with the ‘File > Add More Games > As Is’ option that was described in this video:
When it comes to “where do I find all these games/roms to download?” — I can’t really answer that, as I don’t want to be the guy that outs a good spot for downloading roms and ruins things for everyone else. Also, legally speaking, we should only acquire roms in whatever the correct legal way is. So, as I have done before, I will just recommend that if you do a search like ‘safe place to download roms reddit’ and then check out some of the sites people recommend on there, you’ll be on your way in a couple clicks.
A couple personal notes about games for certain consoles:
I’m not sure if I ever will get around to properly playing any Atari games. I’m pretty sure I just have some on there for a combination of “isn’t that neat?” novelty + Hakchi displays things in rows of 6 on the tv screen, and the OCD in me felt things look nicer by keeping the Atari folders on the Sega Mini home screen — but the actual gameplay of a lot of those really old games just doesn’t hold up in comparison to the other systems. At least not for me — but I’m also not quite old enough to have any real nostalgia for Atari.
A LOT of Nintendo 64 games don’t work properly or don’t work at all on the Sega Mini. I guess it’s just not powerful enough to run most of those games. On top of that, the N64 controller is a little bit wank compared to all the other controllers, so, all in all, a hacked Sega Mini is probably not the best place to experience N64 games (but you can get some to work — like Mario / Mario Kart and the first Banjo Kazooie, so it doesn’t hurt having some on there just because). Some Playstation 1 games also don’t work on the Mini, but the percentage that do is way higher than the ones that don’t, and I’d say that the N64 hit rate on the games I tried is much lower than 50% (so expect a lot of disappointing trial and error with the N64 catalogue if you go down that road).
You’re Going to need a bigger boat - USB Storage
The internal memory of the Sega Mini is less than 200mb, which sounds like hardly anything, but if you stick to just the 16-bit and under games, you can actually get hundreds of games in there. But as soon as you start flirting with 32X, Neo Geo, and Game Boy Advance games, with their comparatively massive file sizes of 5mb-20mb per game, pretty soon your plans of keeping everything internal go up in smoke. And if you want to even add ONE Sega CD or Playstation game, kiss your internal plans goodbye, as almost all of those games are bigger than what the Sega Mini can hold in its own brain.
Luckily, incorporating an external USB drive into your hack is, once again, really easy to do. You basically just push the ‘Export to USB’ button instead of the ‘Synchornize selected games with mini’ button. Of course there’s a little bit more to it then that, but not too much, and just like everything else ‘mini hacking’ there’s a Youtube tutorial on how to do it (the video below also shows how to add Sega CD games, which you’ll see is just like adding Playstation games, and there’s also a bit about ‘overclocking’ at the beginning that I have never bothered with):
A nice thing about using a USB stick for external storage — besides the obvious reason of now being able to store as many games as you want (well, depending on the size of your USB, but if you go for 128 GB, you should be pretty golden… I’m currently using a 64 GB stick and am on the verge of being too full for anymore PS1 games & thinking I might do an upgrade) — whenever you need to add/remove games, you don’t need to plug your Sega Mini into your computer anymore, you just need to bring the USB stick along.
The main reason I was hesitant on incorporating a USB into my hack for a long time is I thought it was going to be complicated (it wasn’t) and I didn’t want to lose one of my USB controller slots. To combat the latter concern (which isn’t a major concern as my girlfriend doesn’t really play), I bought an OTG adaptor that plugs into the back of the Sega Mini, which keeps the 2 USB controller slots on the front open and also supplies me with the ability of playing up to 4 players on games that recognize 4 controllers — which seems to be less than advertised, but Bomberman on the Turbo Grafx-16 works with 4 controllers, and playing that with my nieces is probably the only time I’d need 4 controllers going anyways.

* Not sure if this is actually a thing, but it seemed to me like I needed to have my OTG plugged into the back of my Sega Mini BEFORE I plugged the power source into the OTG — otherwise the OTG wasn’t being recognized.
Speaking of Controllers…
The Sega Mini (at least in North America) came with two 3-button controllers. They say this was to make it be a replica of the original Sega release, but I think they just wanted to make some extra money selling controllers with more buttons, as even some of the games that came pre-installed on the Sega Mini require more than 3-buttons to play properly. Regardless of the original intent, if you want to be able to properly play the games on consoles that came with controllers more advanced than 3-buttons (like most SNES and GBA games and all PS1 and N64 games), you’re going to need a better controller.
If you are like me and hoping to find a simple low cost controller solution that also comes with Analog sticks for proper Playstation / N64 mapping, I highly recommend the Logitech Gamepad F310 (which I was able to get online for $25). This is not an officially licensed controller for the Sega Mini (like the Retrobit controllers are) but I happened to stumble upon a random Reddit thread where someone said that the Sega Mini recognizes the Logitech controller and, even though I couldn’t find any other information that backed that up, I took my chances that this person was telling the truth and… they totally were!
All you need to do is plug it in to your Mini and then follow this instructional video to get you in the right place for mapping your controller (obviously the exact instructions will be a little bit different, but you’ll be able to figure out what to do once you’re in the right spot):
The only thing I wish is that I wouldn’t have bought one of those Retrobit 6-button controllers back when I originally thought I only needed something that worked for Super Nintendo games. Ideally, I’d have 2 Logitechs right now – but I suppose the 6-button Retrobit controller can work for games that don’t require L2 + R2 or analog sticks, so it’s not a total loss. Live and learn (and then blog about it).

The extra nice thing with the Logitech F310 is it also works on my Mac (just have to put the switch on the back to DirectInput), as I recently discovered how to use OpenEmu to play all the games I’ve downloaded for my Sega Mini, right on my old iMac (but maybe that deserves it’s own blog post).
And that’s About all you need to know [that I can tell you]
Everything else comes more down to what kind of games you like playing and how you want to curate/organize your collection. For me, I’ve gone down the route of creating a folder where I put all the games that I’ve featured in my ongoing ‘RETRO GAMES TO ADD TO YOUR HACKED SEGA MINI’ series (which I now have a bunch more consoles to choose games from for future editions)…


…and then I have a folder where I keep a bunch of games that don’t really appeal to me, but might go over well with my 3 young nieces (ages 10, 8, and 6), and then I have 16 individual folders for the 16 different consoles that I have added games for so far. The general rule I am following is that I can’t add more than 95 games to any folder, as I remember reading that having more than 100 games in a folder can cause issues (not sure if that’s still true, but 95 games maximum per console seems like a good enough stopping point regardless). I mean, at some point I should probably try playing the games too :)
*As mentioned at the very top, I have since re-setup my Sega Mini for my 3 nieces for Xmas 2021 + I have since bought myself a Super Console X Cube (on Amazon), which basically game pre-installed with everything I’ve described above (including almost ALL the games + you can add more games/roms yourself).
And that seems like a good stopping point for this post. Hopefully you’ve found it as helpful as I think I would have found it if I was just about to get started on hacking a Sega Mini myself — Happy Hacking!
--
.
.
.
* For legal reasons, I suppose I should add that this post is entirely a work of fiction and I would never actually hack my Sega Mini with games I did not acquire in whatever the proper legal manner is for acquiring old 80s/90s games in 2020 — in fact I would never even hack my Sega Mini, period, because hacking is bad, kids. "Follow the rules and always do things the way you were told to do them" — that's my motto.